Enable Session Notes
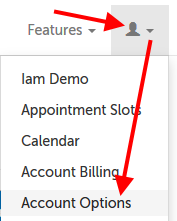
1. While logged in as an Account Administrator, click on the profile tab (head/shoulders icon) and select "Account Options" from the drop-down menu.
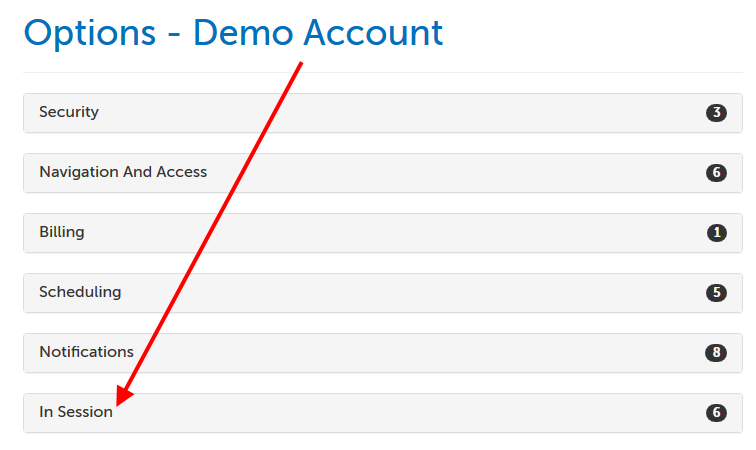
2. Click on the "In Session" section to expand it.
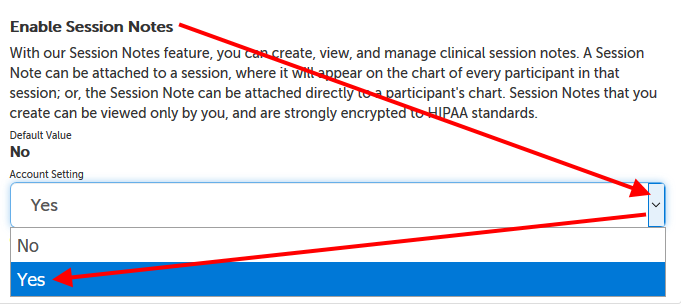
3. Scroll down to the "Enable Session Notes" option and change the setting from "No" to "Yes". The change will be saved automatically.
Create a Session Note: about a session and participants
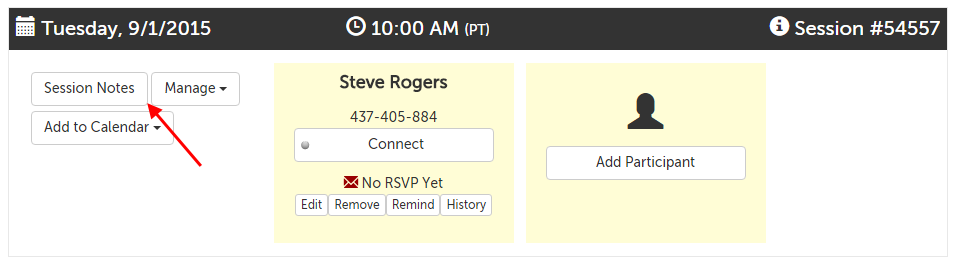
1. Once you have scheduled a session, a "Session Notes" will appear on the new session panel. Click on it.
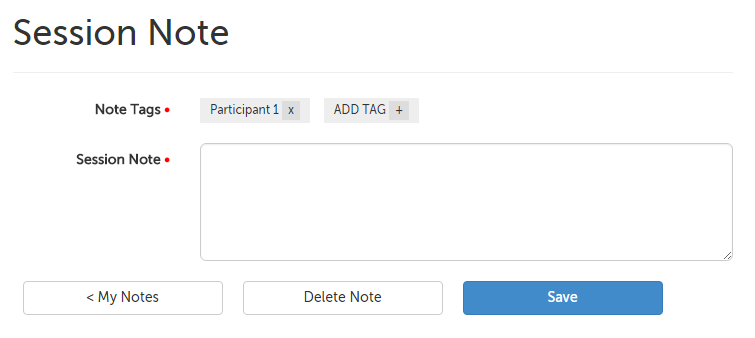
2. You will be taken to a separate page where you can start typing your note.
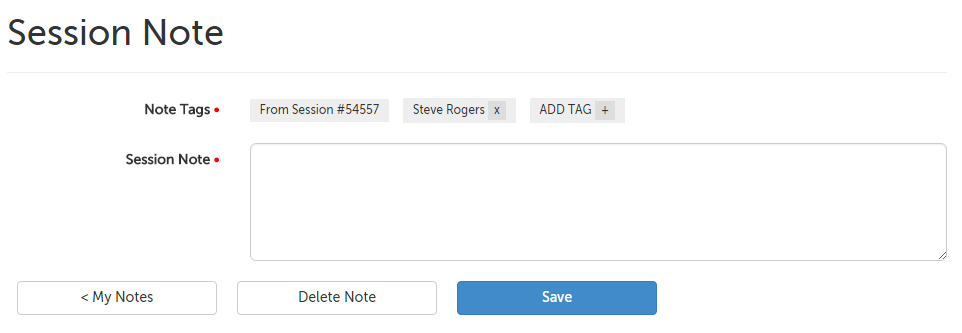
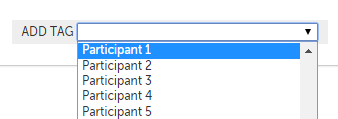
3. If you'd like to add other contacts to this note, click on "Add Tag +" to select other contacts in your contacts list.
4. Click "Save" in the lower right hand corner.

Create a Session Note: about a contact
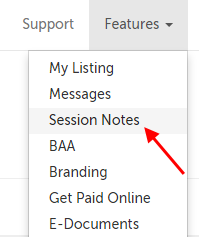
1. Click on the "Features" tab and select "Session Notes" from the drop-down menu.
2. Click the "New Note" button.

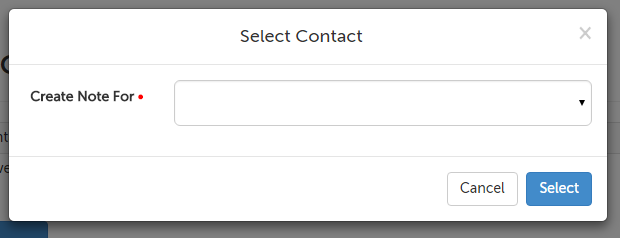
3. From the drop-down menu that appears, choose the contact the note is about and then click "Select" in the lower right hand corner.
4. Start typing your note.
5. If you'd like to add other contacts to this note, click on "Add Tag +" to select other contacts in your contacts list.
6. When you're done, click "Save" in the lower right hand corner.
Edit a Session Note
1. Click on the "Features" tab and select "Session Notes" from the drop-down menu.
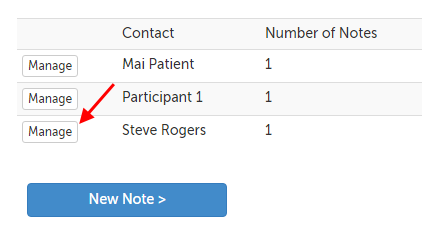
2. Notes are sorted by the contacts they are associated with. Click on "Manage" next to the contact that would have the note that you would like to edit.
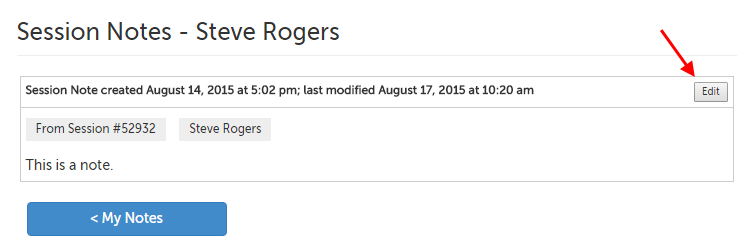
3. Click on the "Edit" button on the right hand side of the note.
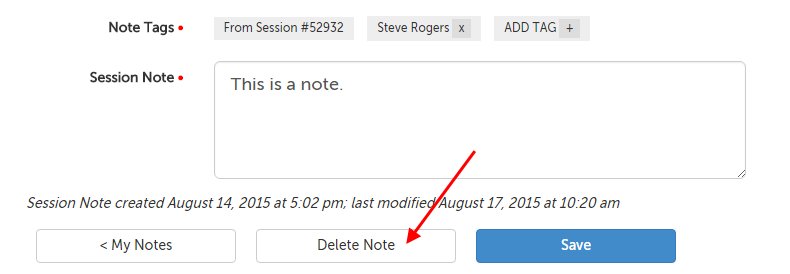
4. Edit your note as desired, and then click the "Save" button.
Delete a Session Note
1. Click on the "Features" tab and select "Session Notes" from the drop-down menu.
2. Notes are sorted by the contacts they are associated with. Click on "Manage" next to the contact that would have the note that you would like to edit.
3. Click on the "Edit" button on the right hand side of the note.
4. Click the "Delete Note" button along the bottom.
5. Confirm that you would like to permanently delete this note by clicking the "Delete Note" button on the message that appears.
This article was last reviewed by our Support team on August 15, 2015.